SNMP to Discovery: Step by step
The new Pathfinder Discovery module replaces and enhances our old SNMP module.
This guide will walk you through the necessary steps for a smooth transition.
The Discovery module requires the use of a server-based database. Users who have been working with a file-based database will need to migrate.
1) Installing Pathfinder Server
With the Discovery module all active data collection happens in Pathfinder Server. Users who have not been using Pathfinder Server already will need to download and install it. It is available for both Windows and Linux.
Server Installation: Windows
Server Installation Debian Package
Server Installation RPM Package
Once installed, it should be configured to use the same license file and database as Pathfinder.
2) Creating the Subnets in Pathfinder
Pathfinder Server will run discovery jobs based on the subnets that have been defined in Pathfinder Client.
Users who have not yet documented their subnets in Pathfinder will need to do so.
3) Creating Credentials and Discovery Jobs

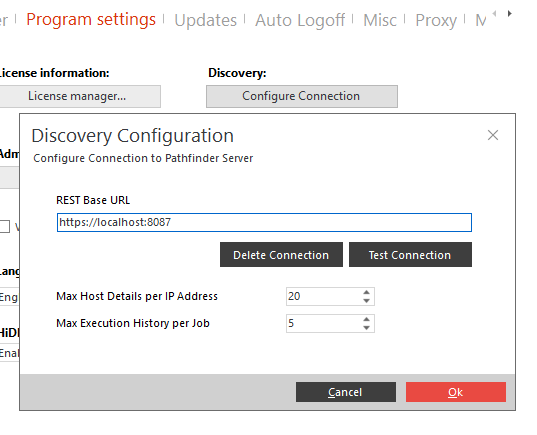
To create Discovery jobs directly from Pathfinder Client, it must be connected to Pathfinder Server. This can be done either from the Options dialog or directly from the Job Management dialog.
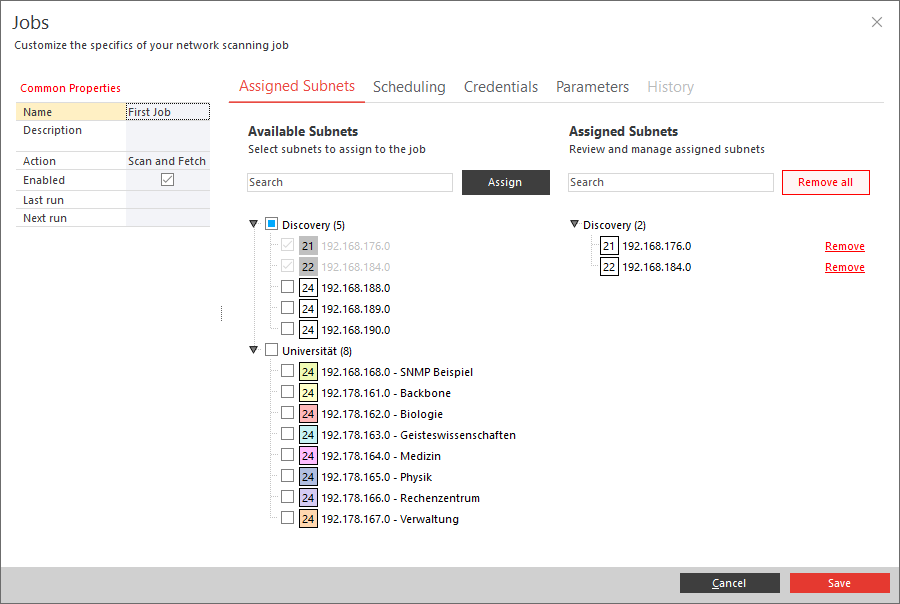
Once Pathfinder Server is connected, the first discovery jobs can be created in the Network & Services section.

A discovery job consists of subnets to scan, a schedule, and SNMP credentials. Pathfinder will attempt to use all provided credentials on all IP addresses.
To help users ensure that the job is working as intended, once a job is created, it is run once, regardless of the schedule defined.
The job management is also available in the Pathfinder Server Web UI. There it is possible to assign only parts of a subnet to a job.
4) Accessing Discovery Data

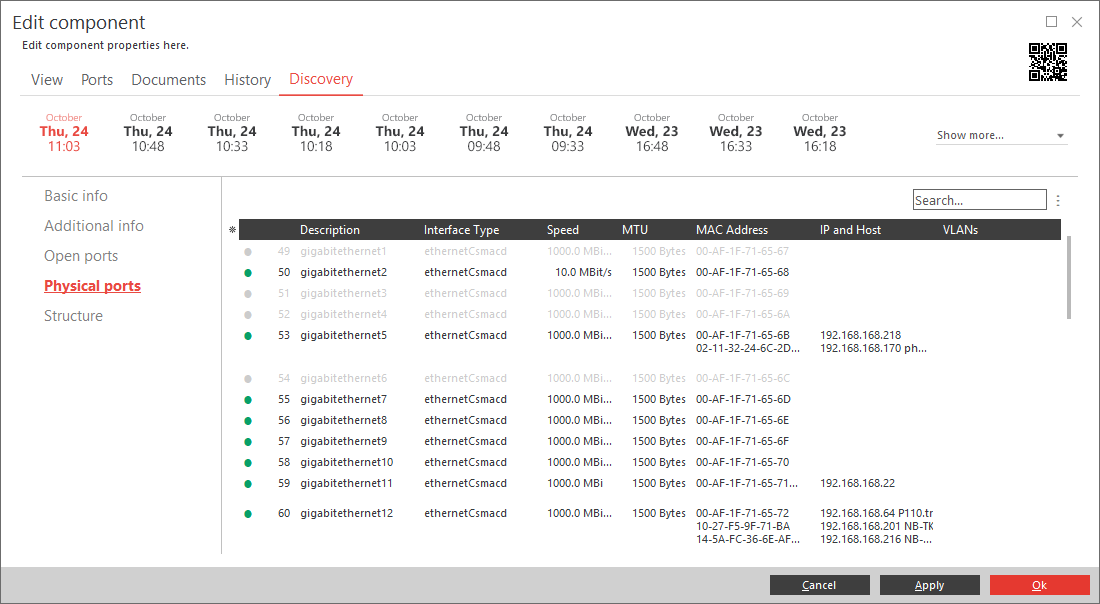
After a job has been run and data has been retrieved for an IP address, the data is displayed in the properties of the components and ports that are associated with the address, and in the properties of the IP address itself.