Add Installation Cables
This dialog can be used to create larger installation cables without immediately creating connections.
Select the Add Cables option from the cable management section.
Select Cable Type
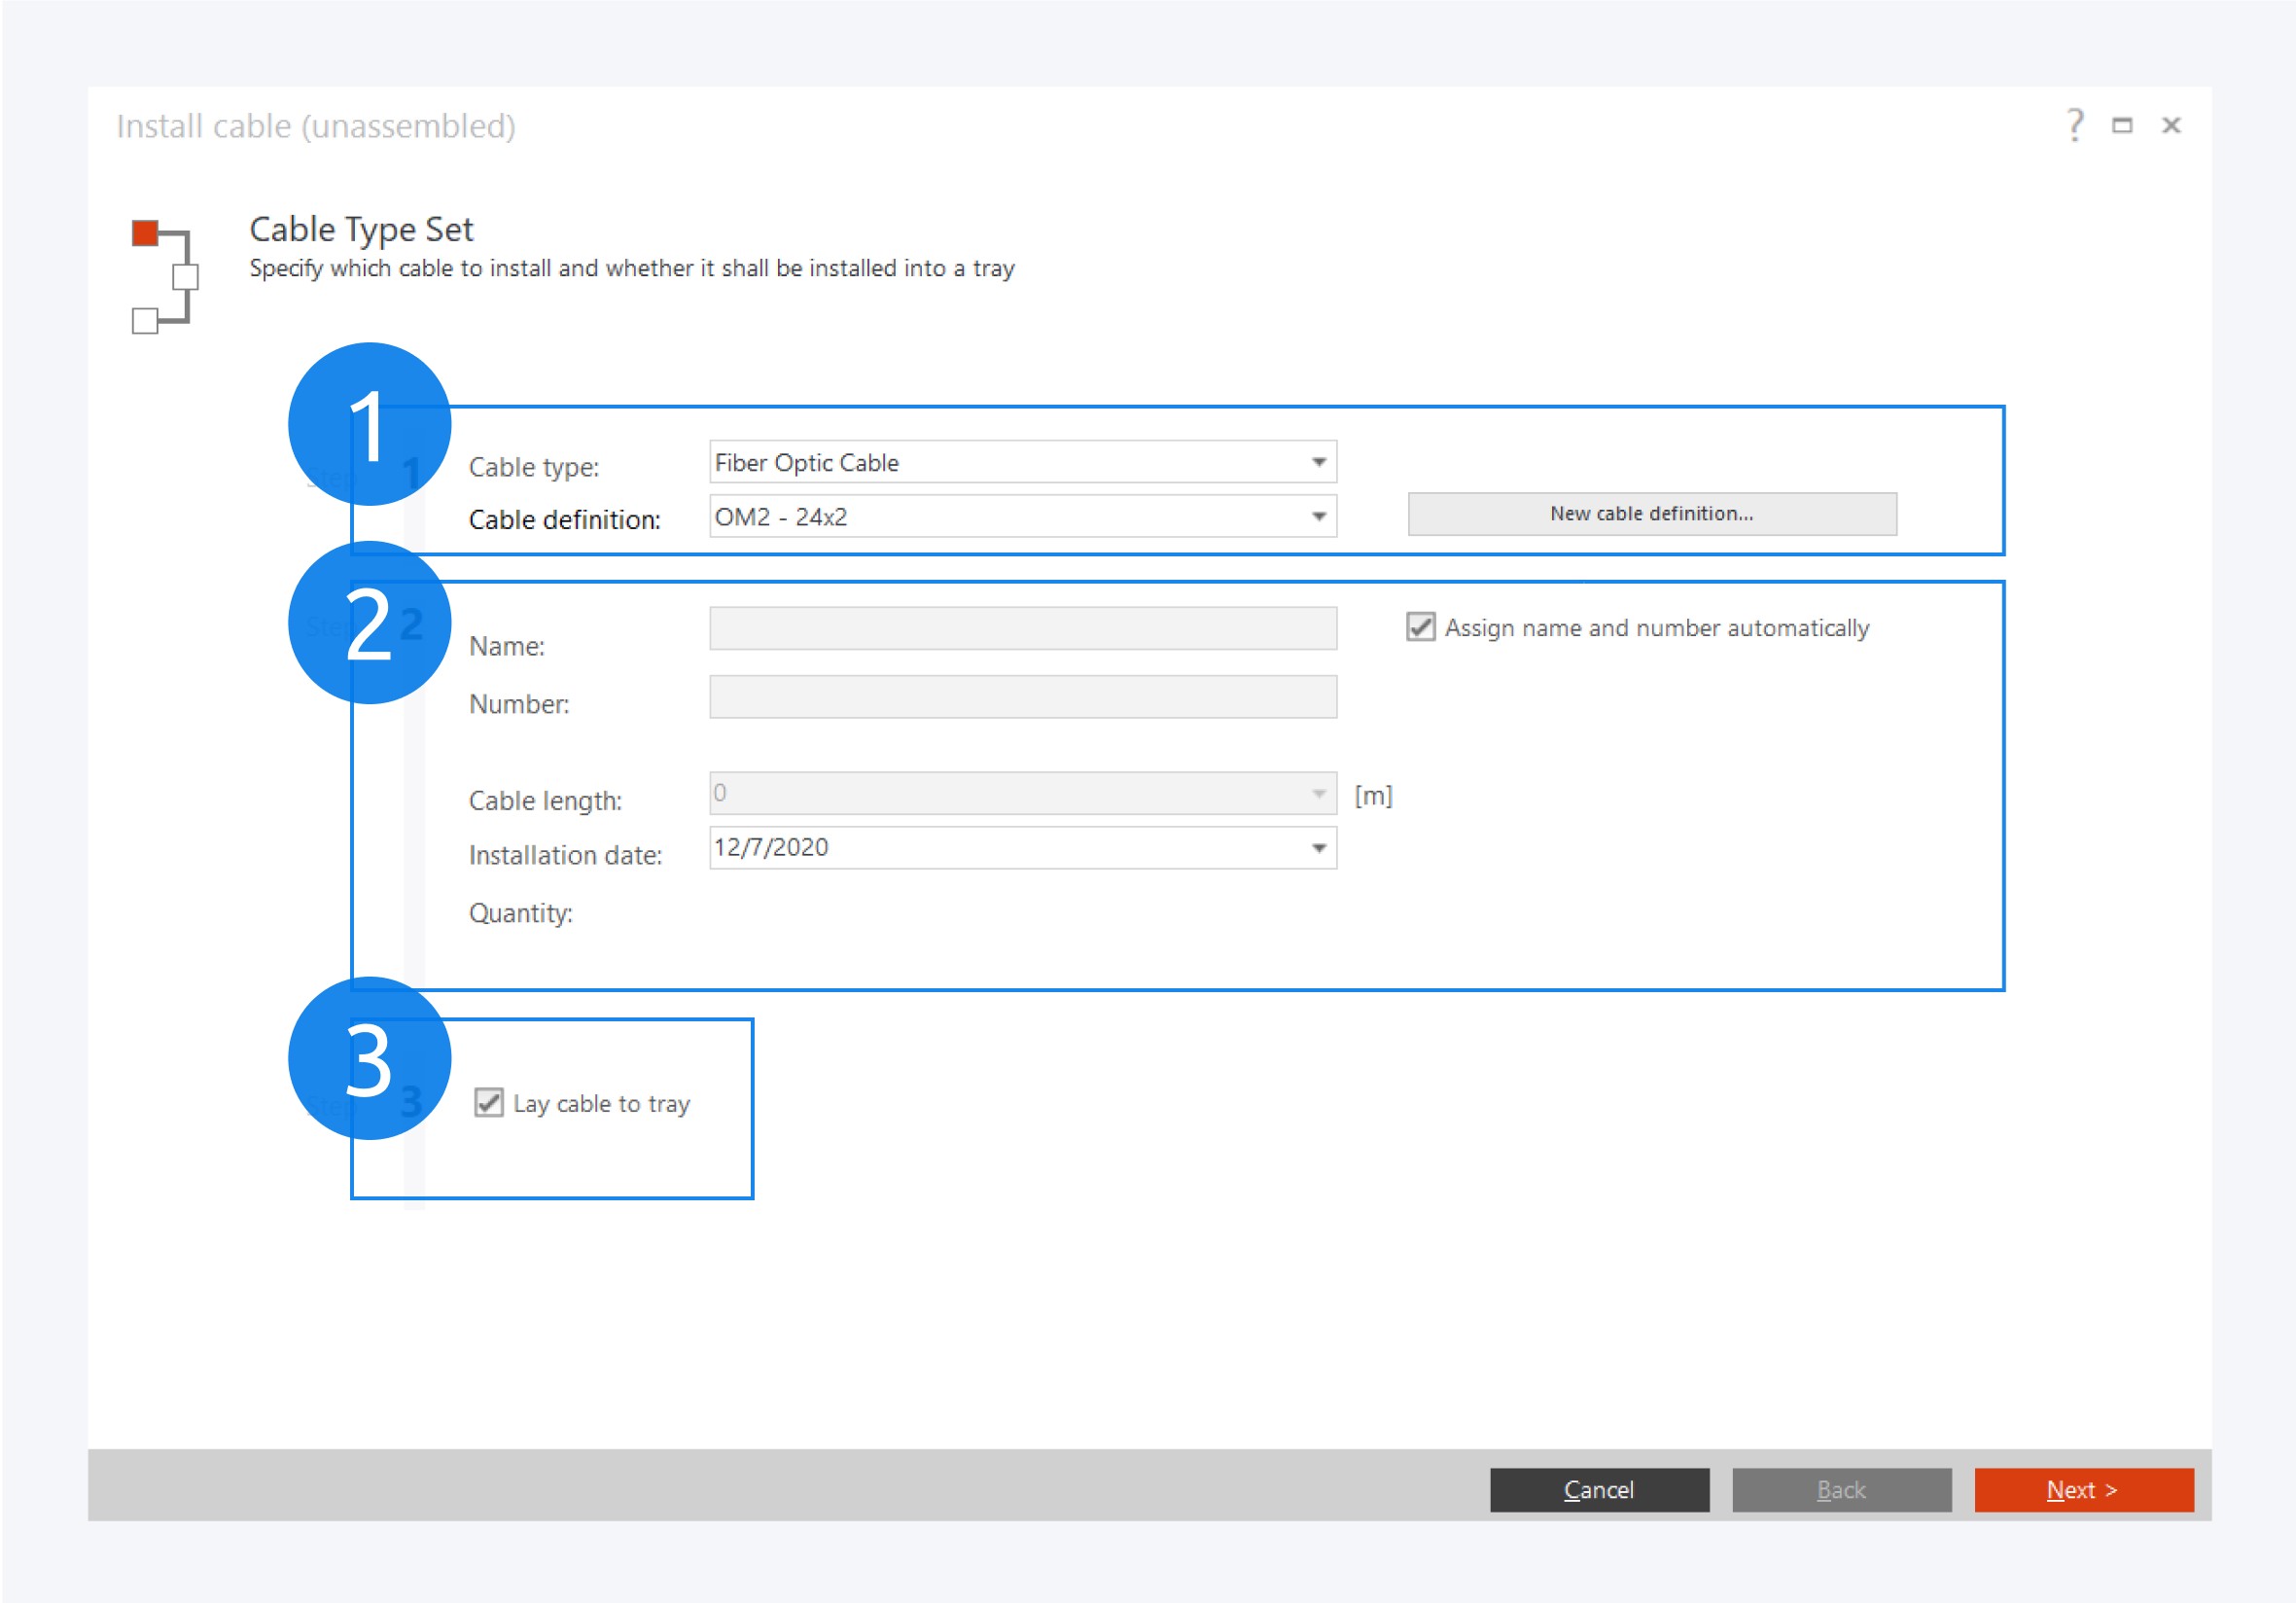
To create a new cable, first select the cable type and definition (1). If necessary create a new cable definition first. Usually, name and a number are generated automatically (2). Uncheck the box if you want to assign them yourself. Finally decide whether to add the cable in a cable tray (3).
Tray Selection
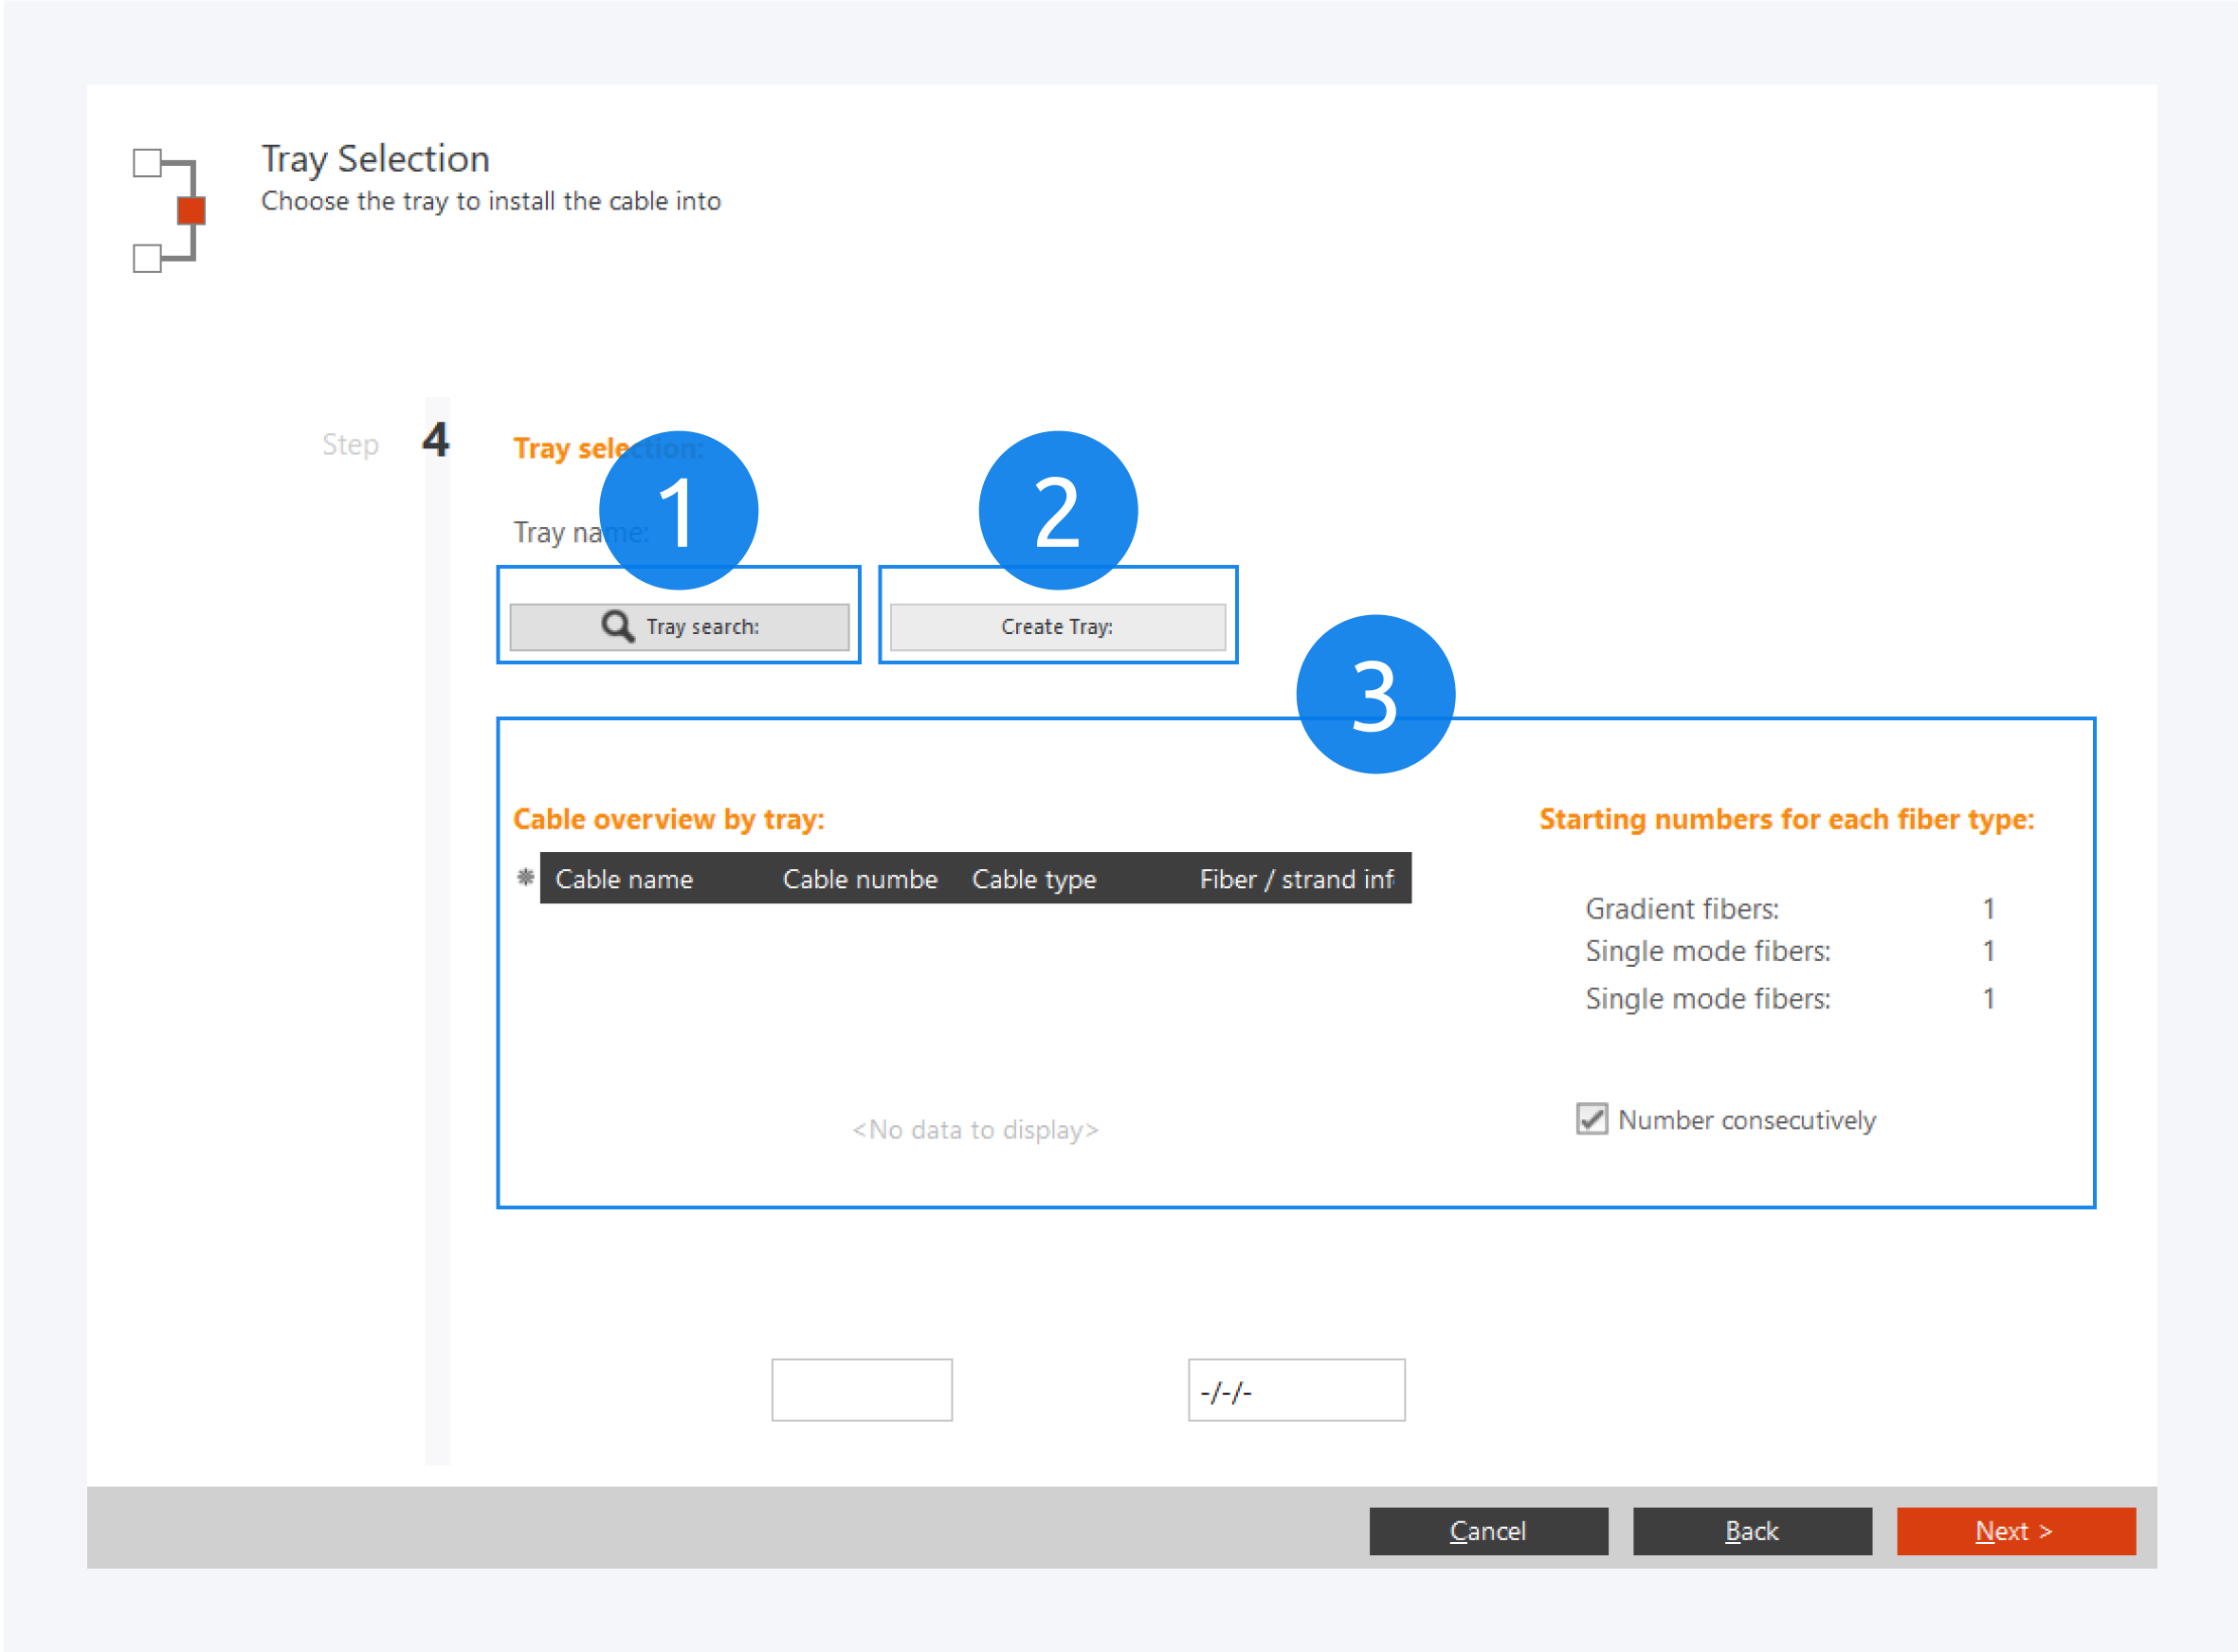
If you have chosen to install your cables through a tray, you will need to select a tray. You can either use the Tray search (1) to find an existing tray or create a new one (2).
The cable overview by tray (3) shows information about the selected tray. You can also find the default starting numbers for each fiber type within the tray. Click on Next for an overview of the cable and click on Finish to complete installing your cable in the selected tray.
Select Cable Source and Destination
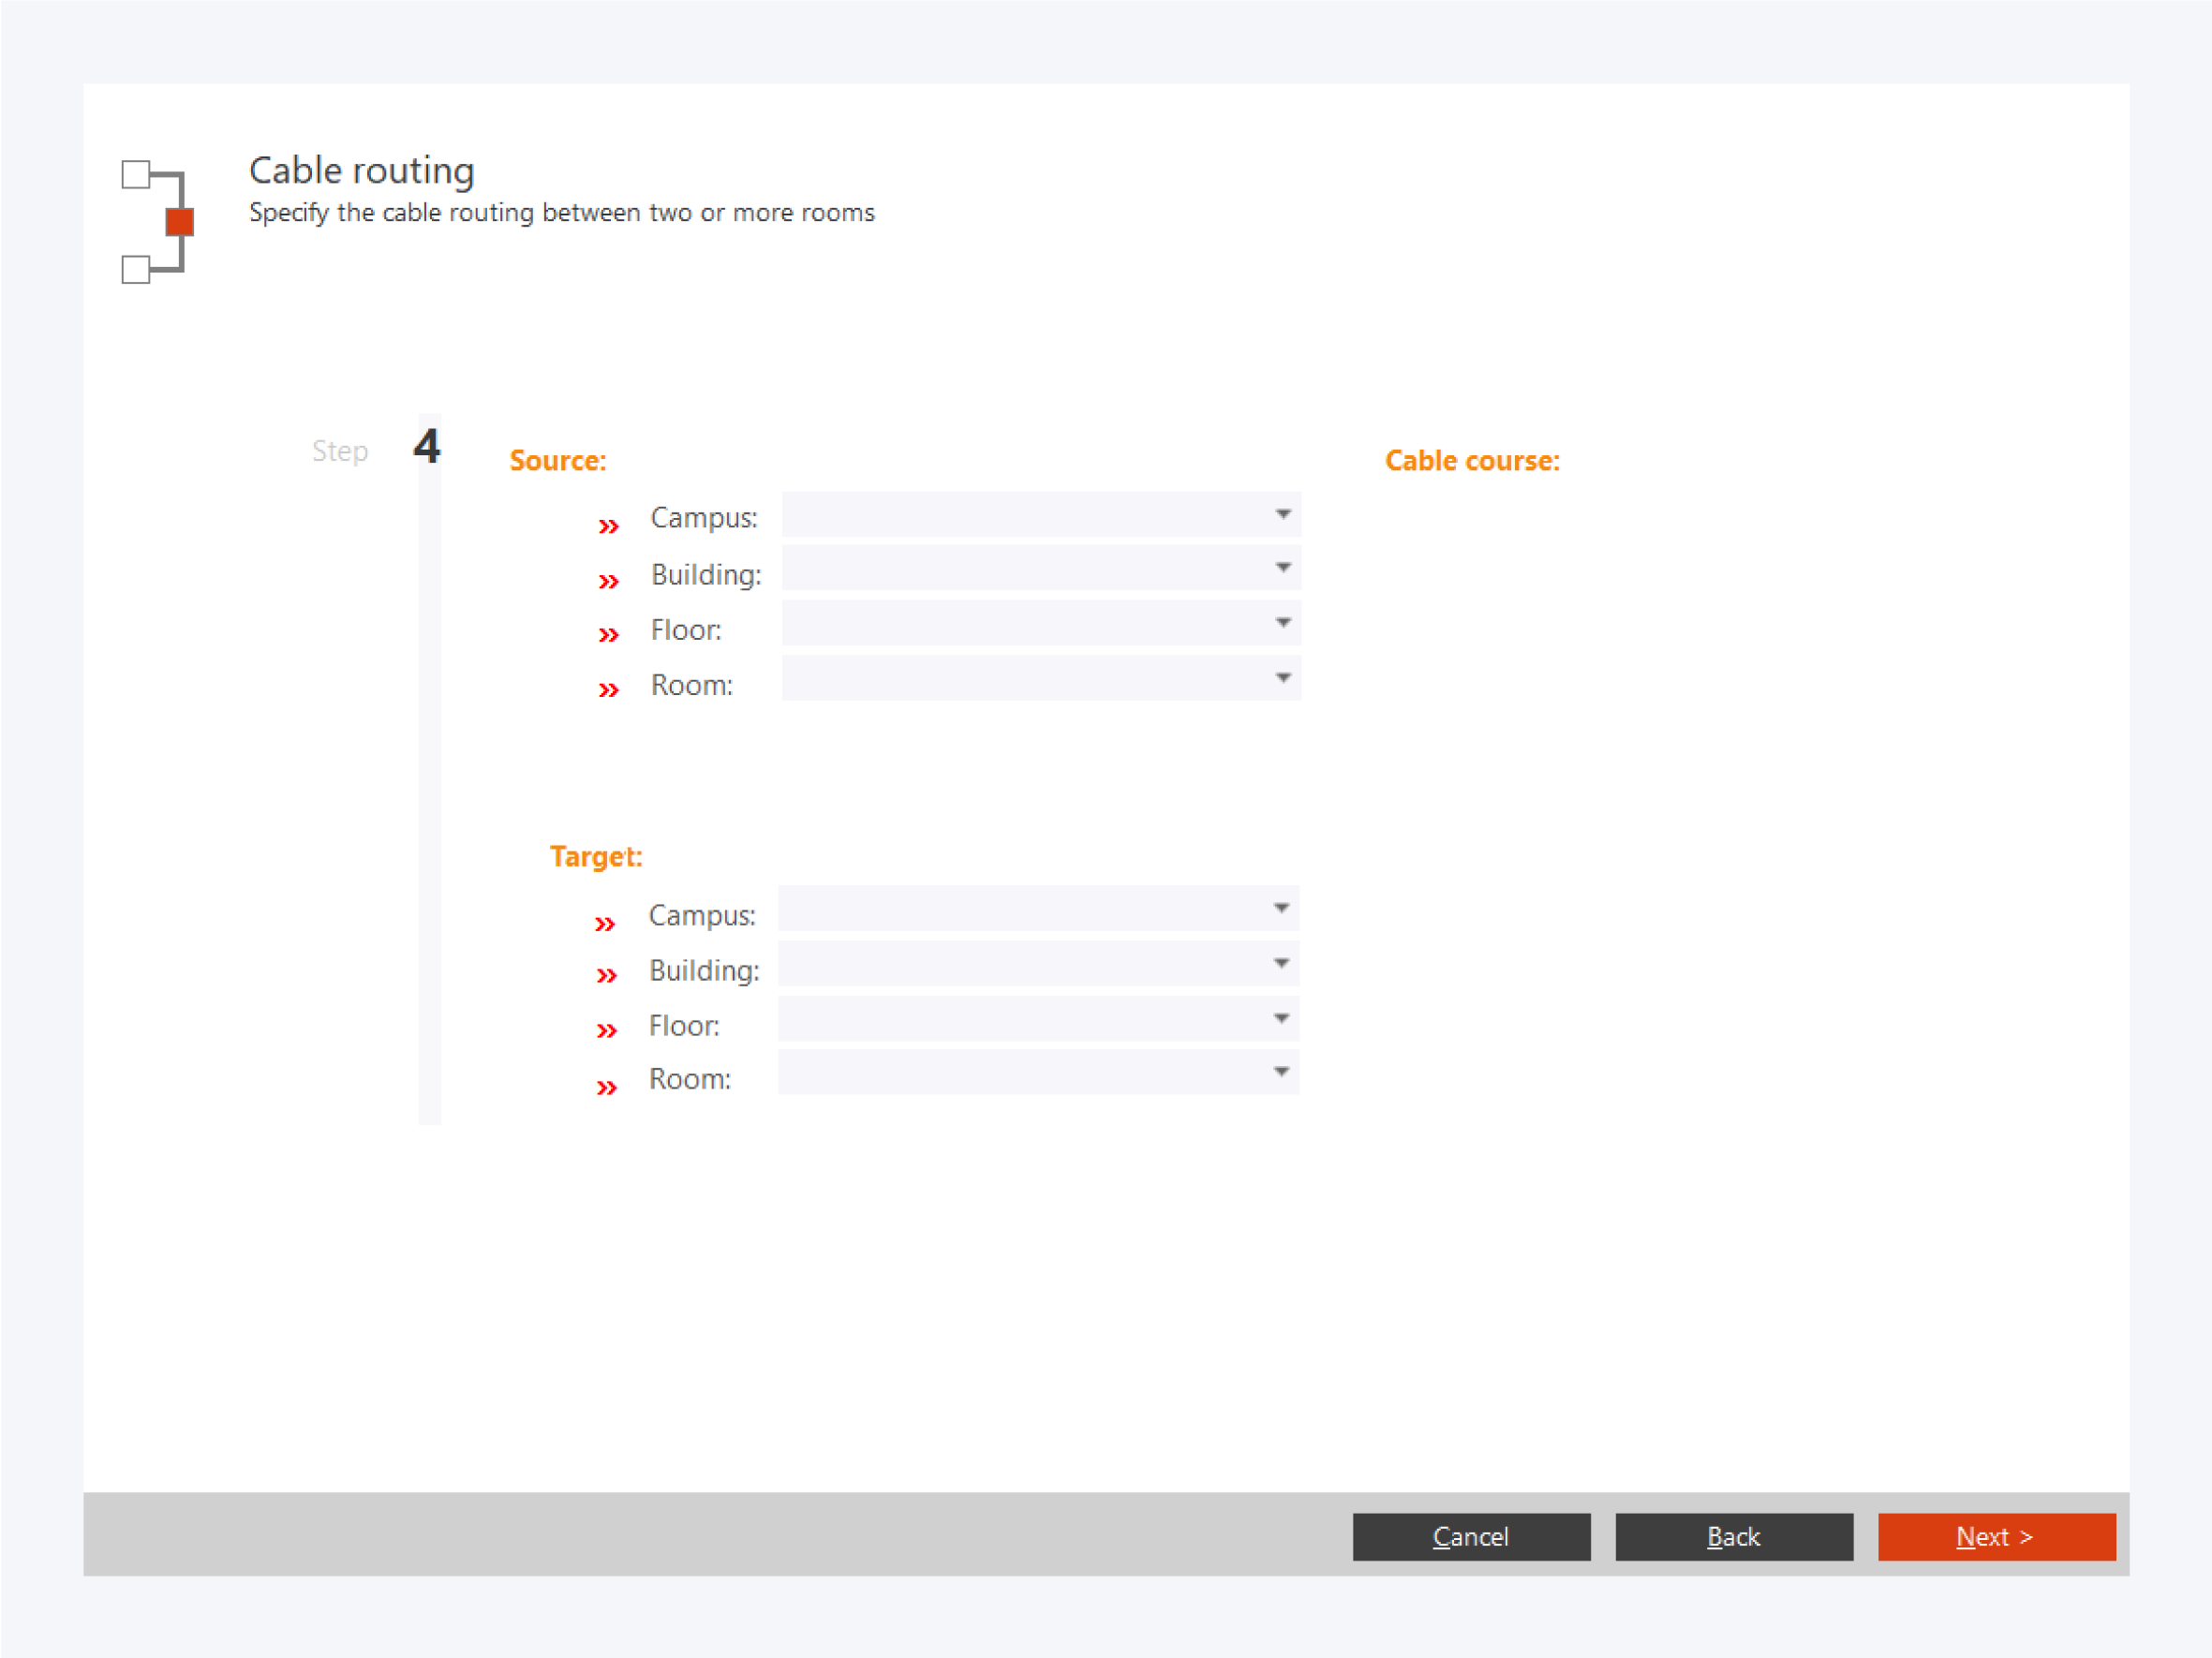
If you have chosen to install your cable without a tray, you will be asked to select the cable source and destination locations. Click on Next for an overview of your cables and click on Finish to complete installing your cable. You will be asked whether you would like to connect the cables you just installed.
For more information about how to connect the newly installed cable, go to: Place Installation Cable Connections (Advanced).