User Interface Dashboard
Get accustomed with the Dashboard, the main user interface of Pathfinder.
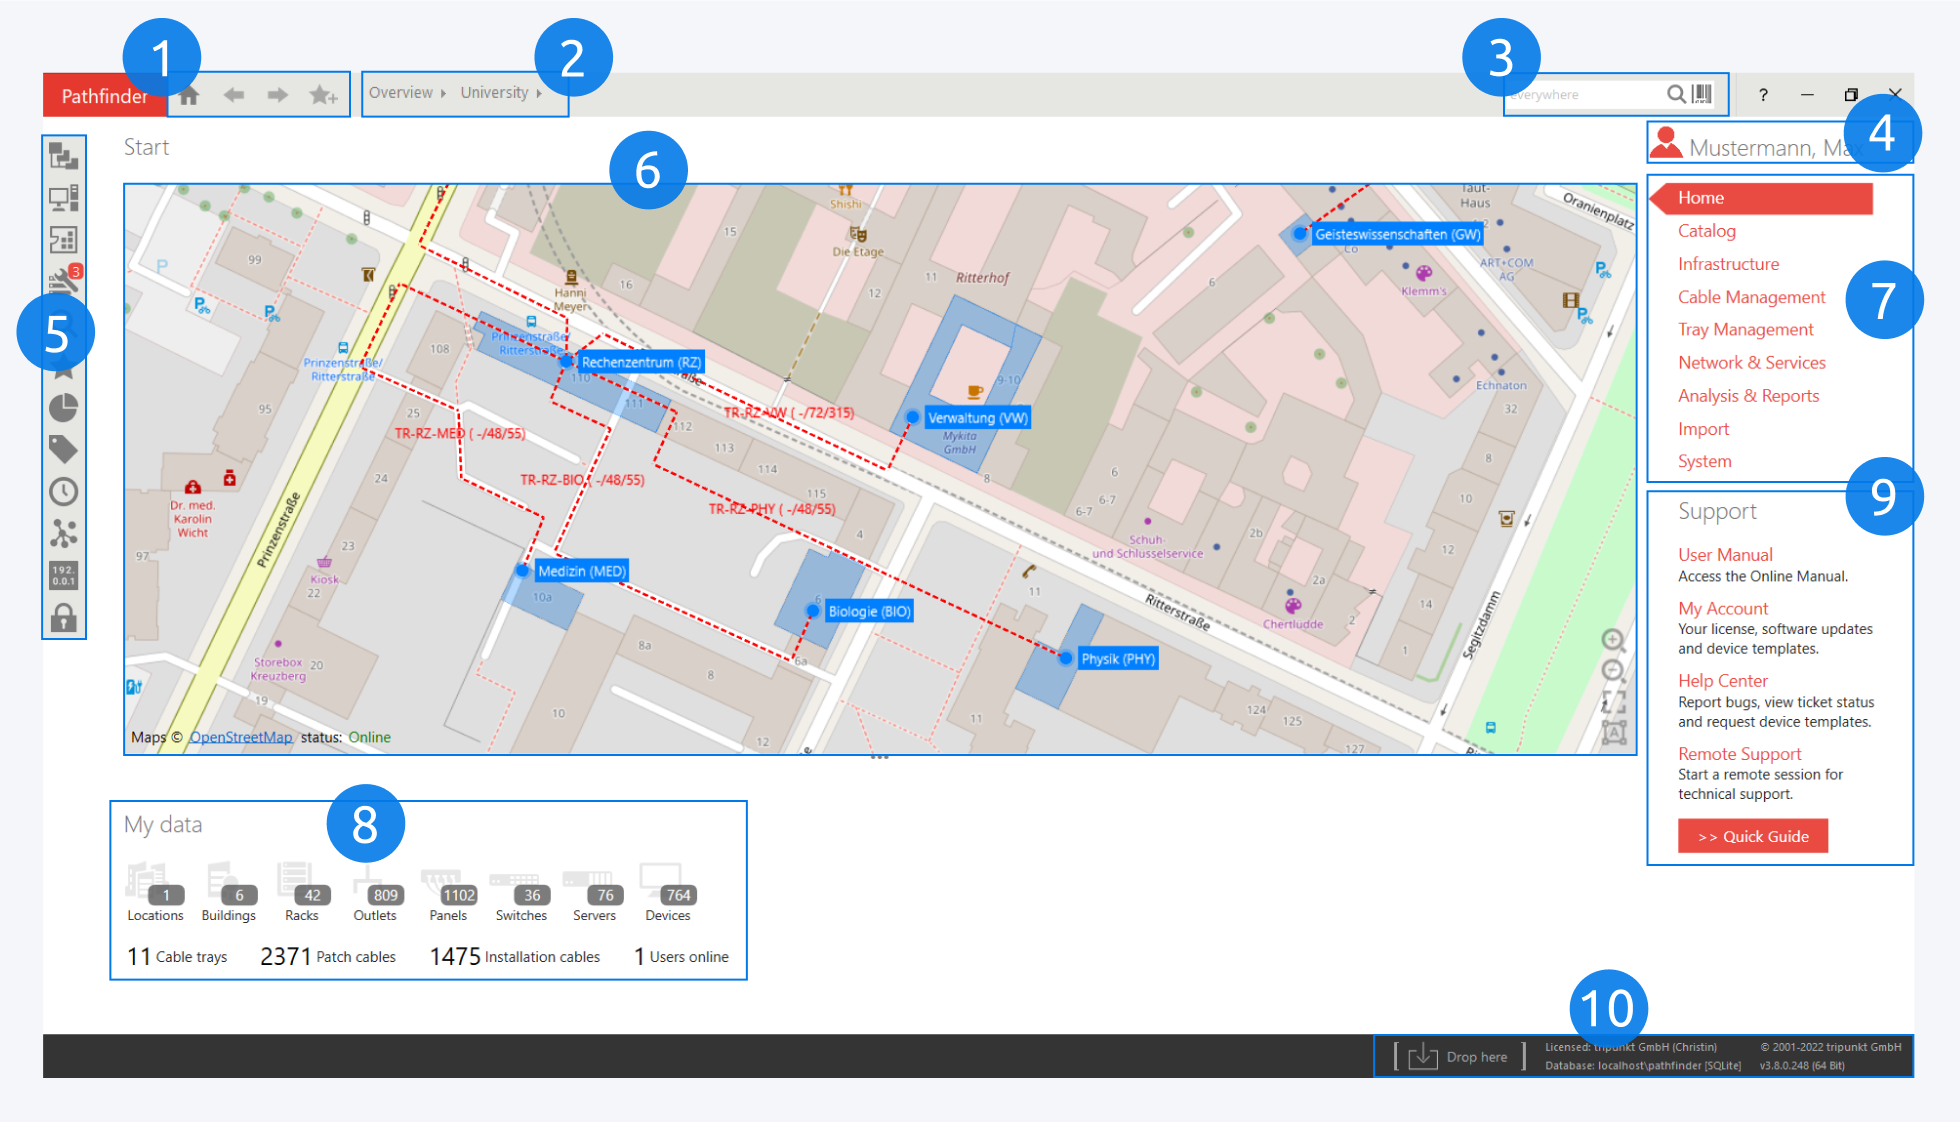
1. Simple Navigation Bar
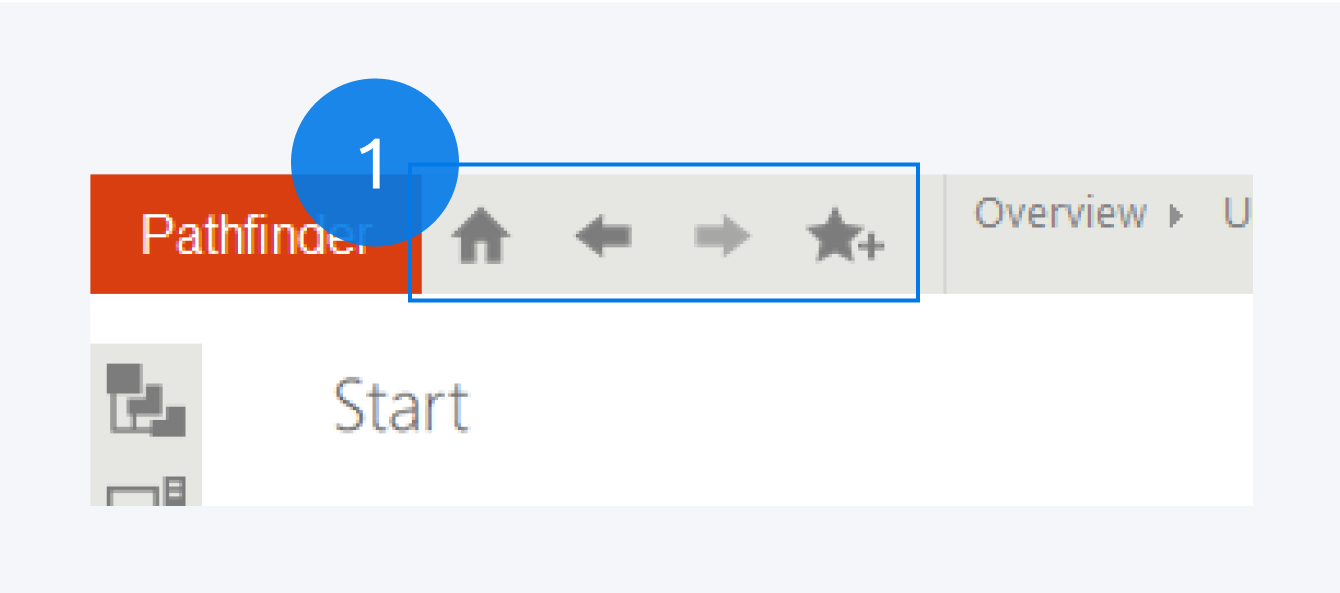
The Home Icon always leads you back to the Dashboard.
You can use the Left/Right Arrow Icons to navigate back and forth between the previous and last positions respectively.
The Star Plus Icon can be used to generate bookmarks of your current position.
2. Location Bar
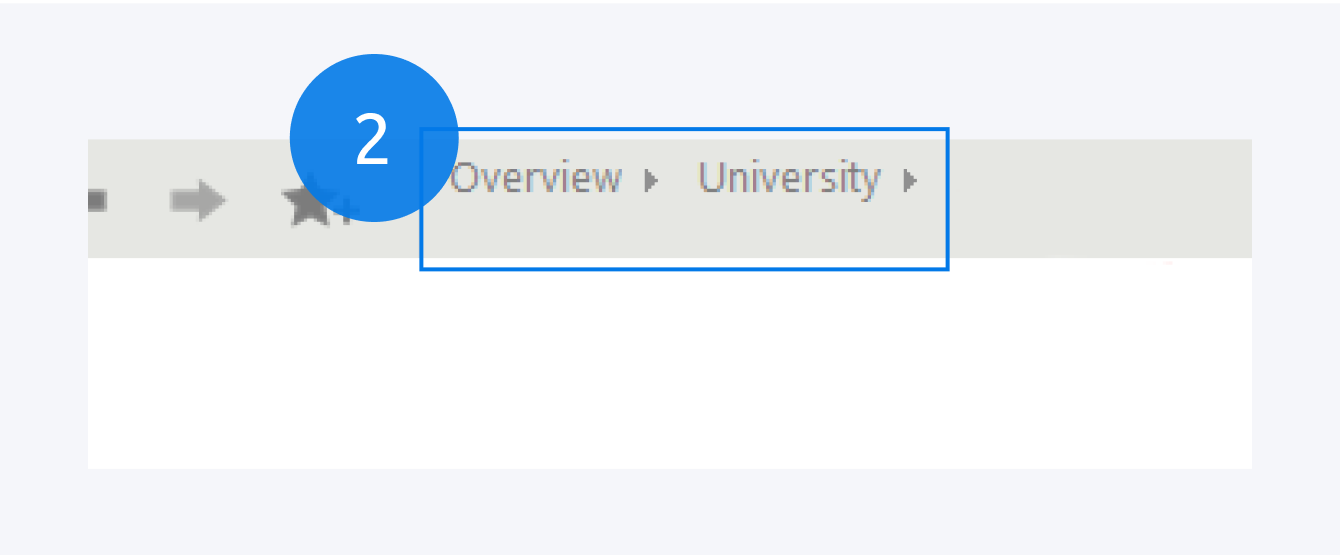
The Location bar always shows a cascading view of your current position and lists the next possible positions in the nested infrastructure.
Click on Overview to take you back to the top level of the infrastructure hierarchy.
3. Search Bar
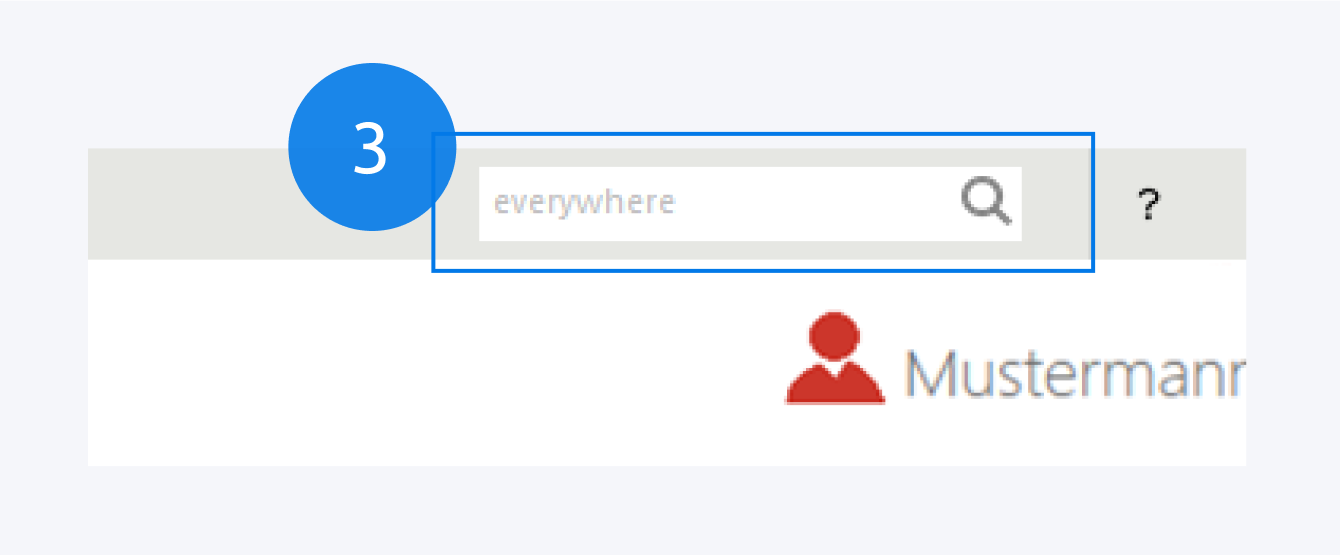
The Search bar is used to search for any object within Pathfinder such as: Locations, Buildings, Floors, Rooms, Component Definitions, Components, Ports, Cables, Trays, Work orders, IP Addresses, Subnets, Documents, Tags, Tag groups, Network paths, etc.
4. User Information
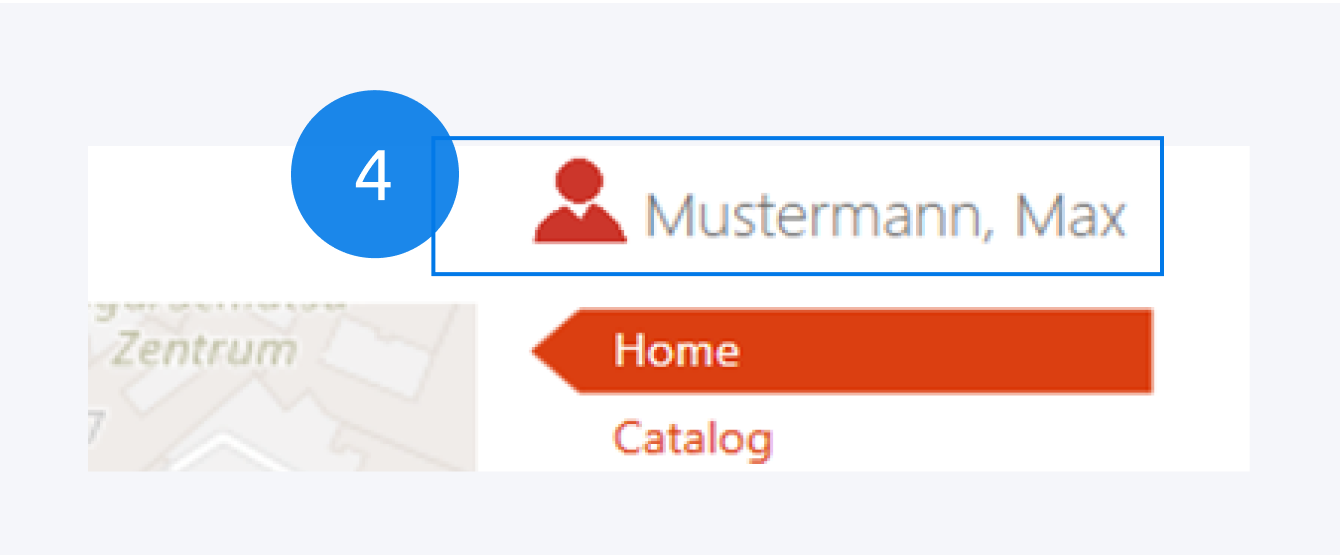
Click on the dummy icon next to the user name to open the user information tab in the Optionsmenu. You can change the user details and set a new password here.
5. Sidebar
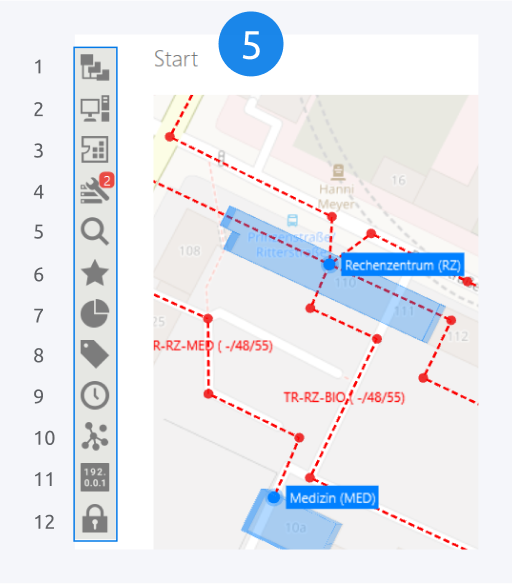
Navigation: The navigation tab (Alt +N) displays the nested infrastructure in Pathfinder and allows easy navigation between locations, buildings, floors and rooms.
Local catalog: The local catalog tab (Alt + C) is used to manage all the component definitions that have been imported from the online catalog. You can use these component definitions to create component instances in the Pathfinder network.
Work order: The work order tab (Alt + W) is used to manage and assign tasks to users.
Search: The search tab (Alt + S) is where search results will be displayed. Additionally to the global search, it is possible to search within the current object here, too.
Bookmarks: The bookmarks tab (Alt + B) can be used to view all existing bookmarks and create new ones.
Reports: The reports tab (Alt + P) allows creation and management of pre-defined, instance-based, rule-based and SQL-based reports and report templates.
Tags: The tags tab (Alt + T) consists of predefined tags. New tags can be created and managed here as well.
History: The history tab (Alt + H) holds a log of all changes made in the Pathfinder network.
Network map: The network map tab (Alt + M) is used to passively depict the connections of the PCs, switches and servers in the network.
IPAM: The IPAM tab (Alt + I) is used to manage and allocate IP addresses and VLANs for different networks.
Security: The security tab (Alt + O) is used to manage read/write/delete permissions for certain users/groups within certain objects.
6. Map
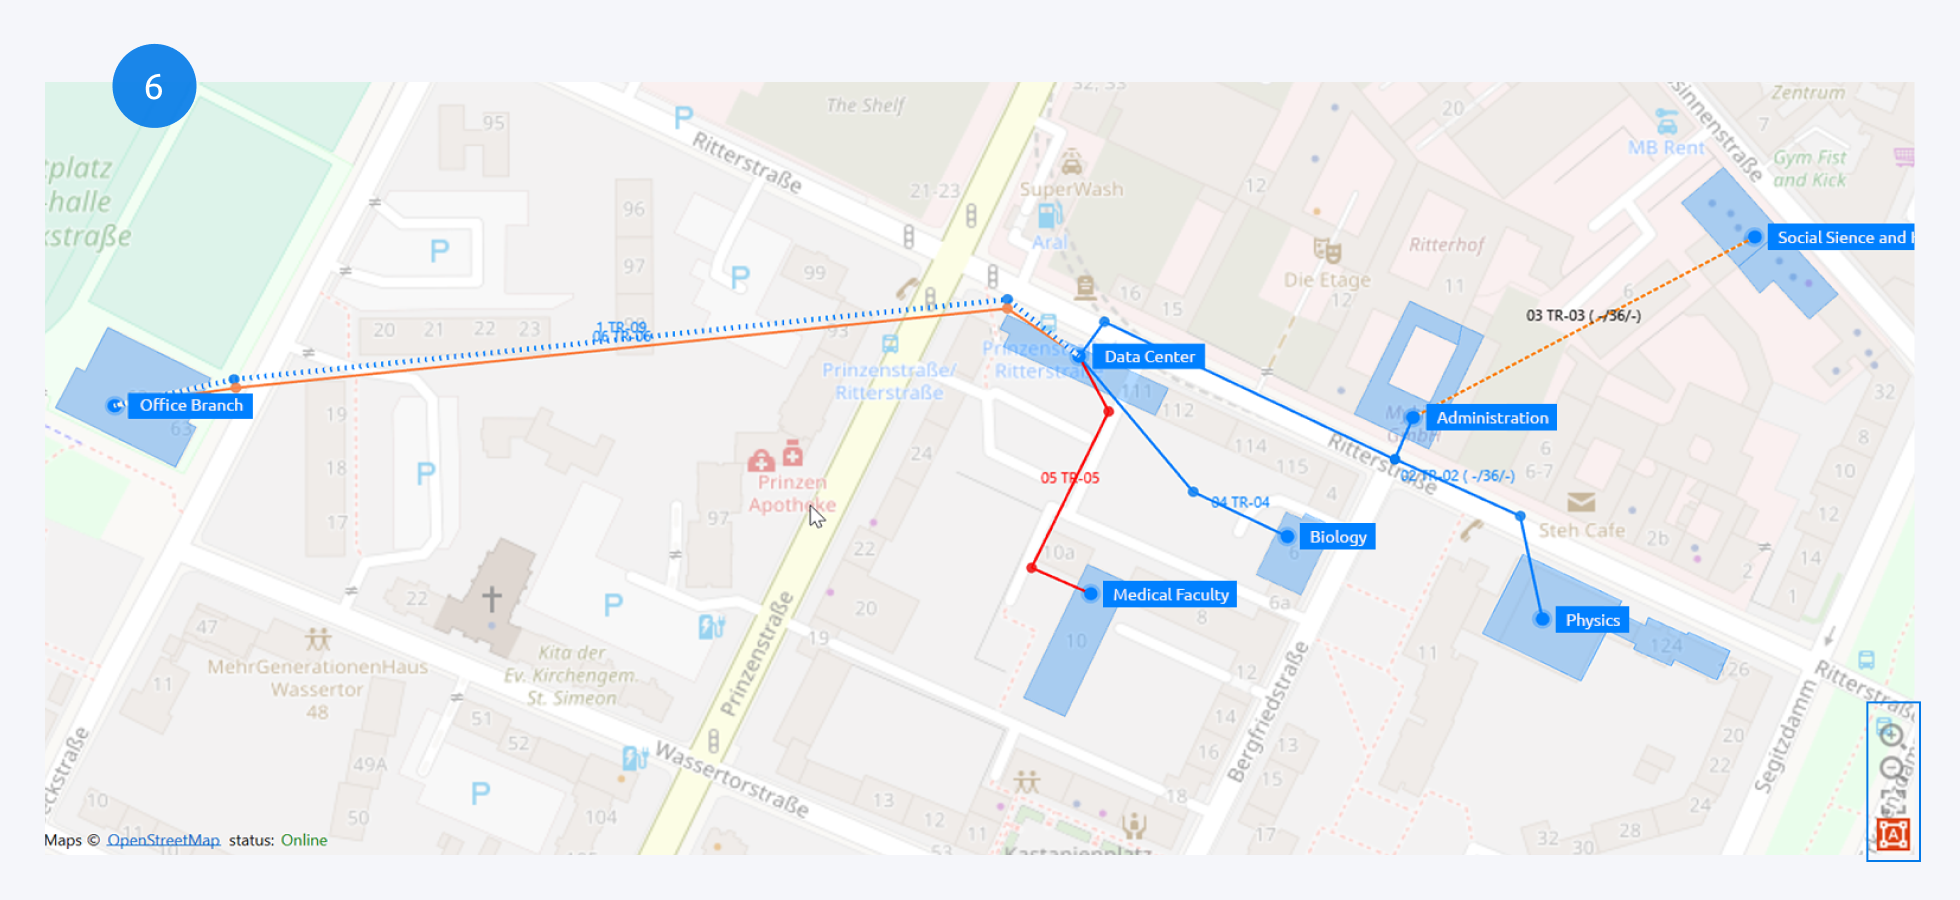
You can use the Map, located in the center of the dashboard, to move around and manage your infrastructure.
You can click and drag the map. You can zoom in and out with the mouse wheel or the zoom icons on the bottom right corner of the map. You can also adjust for best fit and enter the design mode from here.
7. Main Section
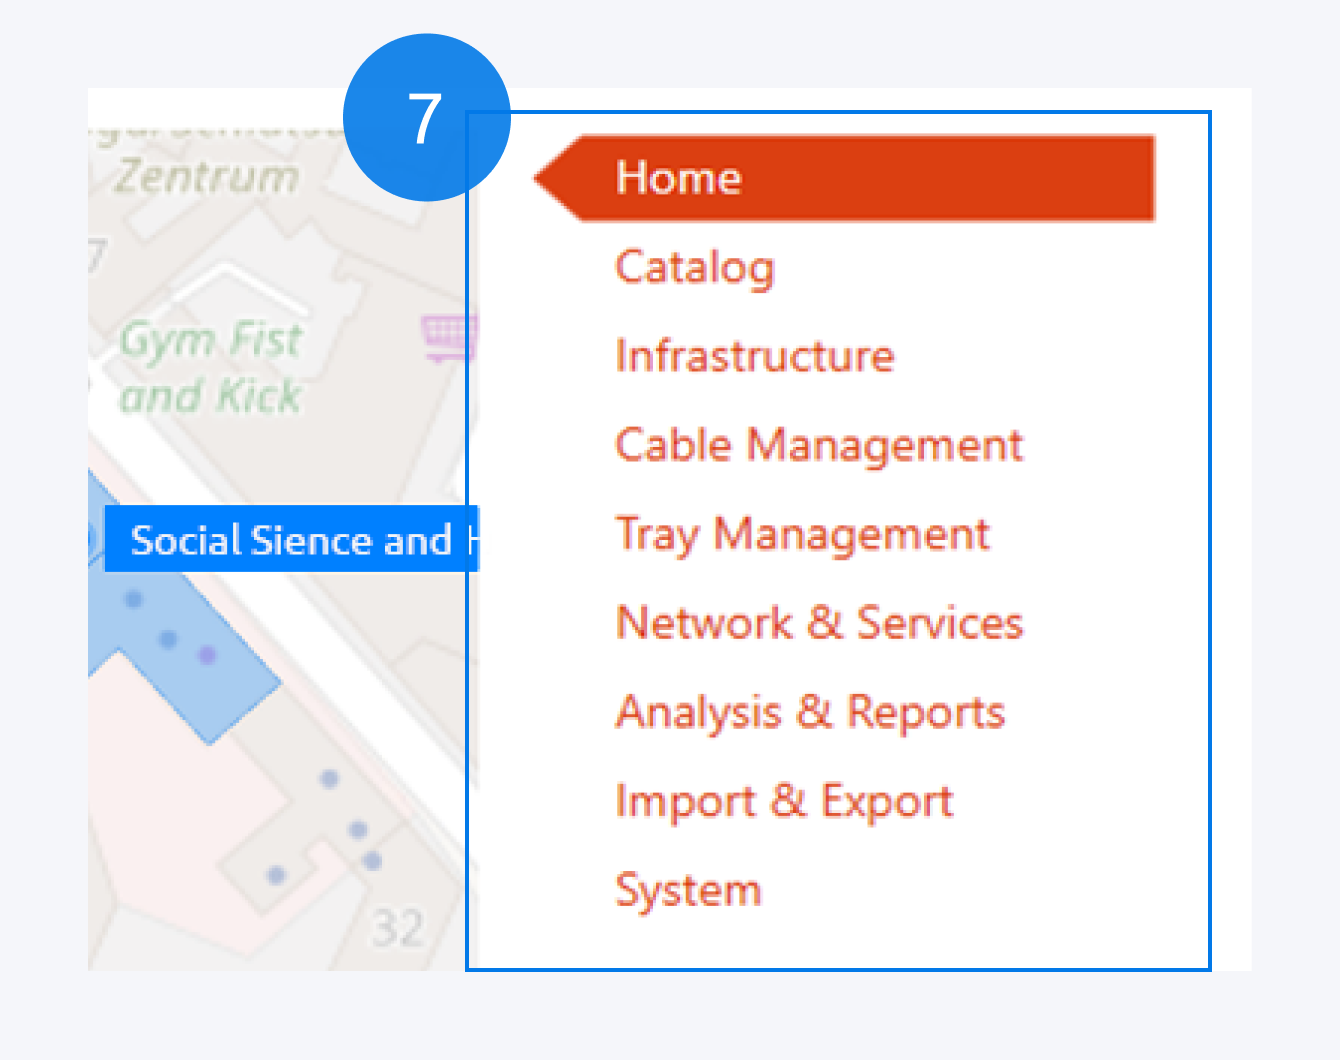
On the right-hand side of the dashboard there are the in-depth functionalities of Pathfinder organized into sections. You can find useful functions that can be used to import and export component definitions, create infrastructure and component instances, manage fixed cables, patch cables and trays, analyze and generate reports, check system properties, and more.
8. Data overview
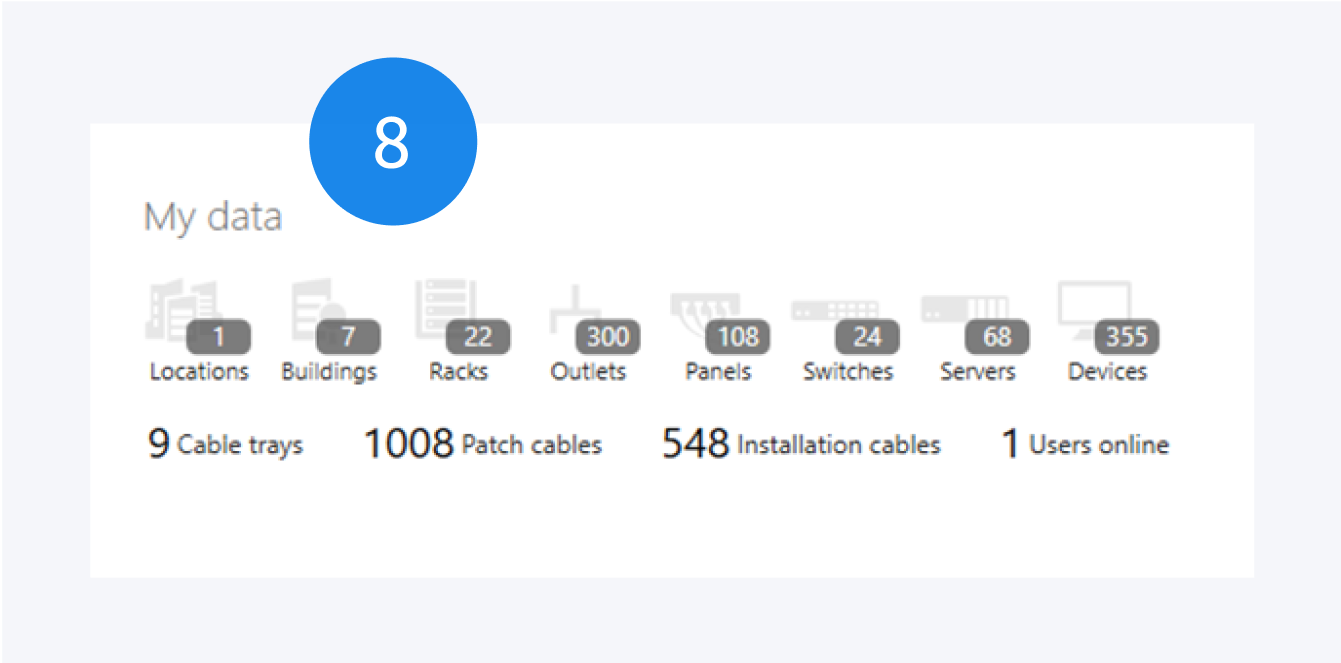
Located in the bottom left corner of the dashboard, My data summarizes the infrastructure, components and size of your current Pathfinder network. Clicking any of the icons will open an overview window for the respective instances in your network.
9. Support area
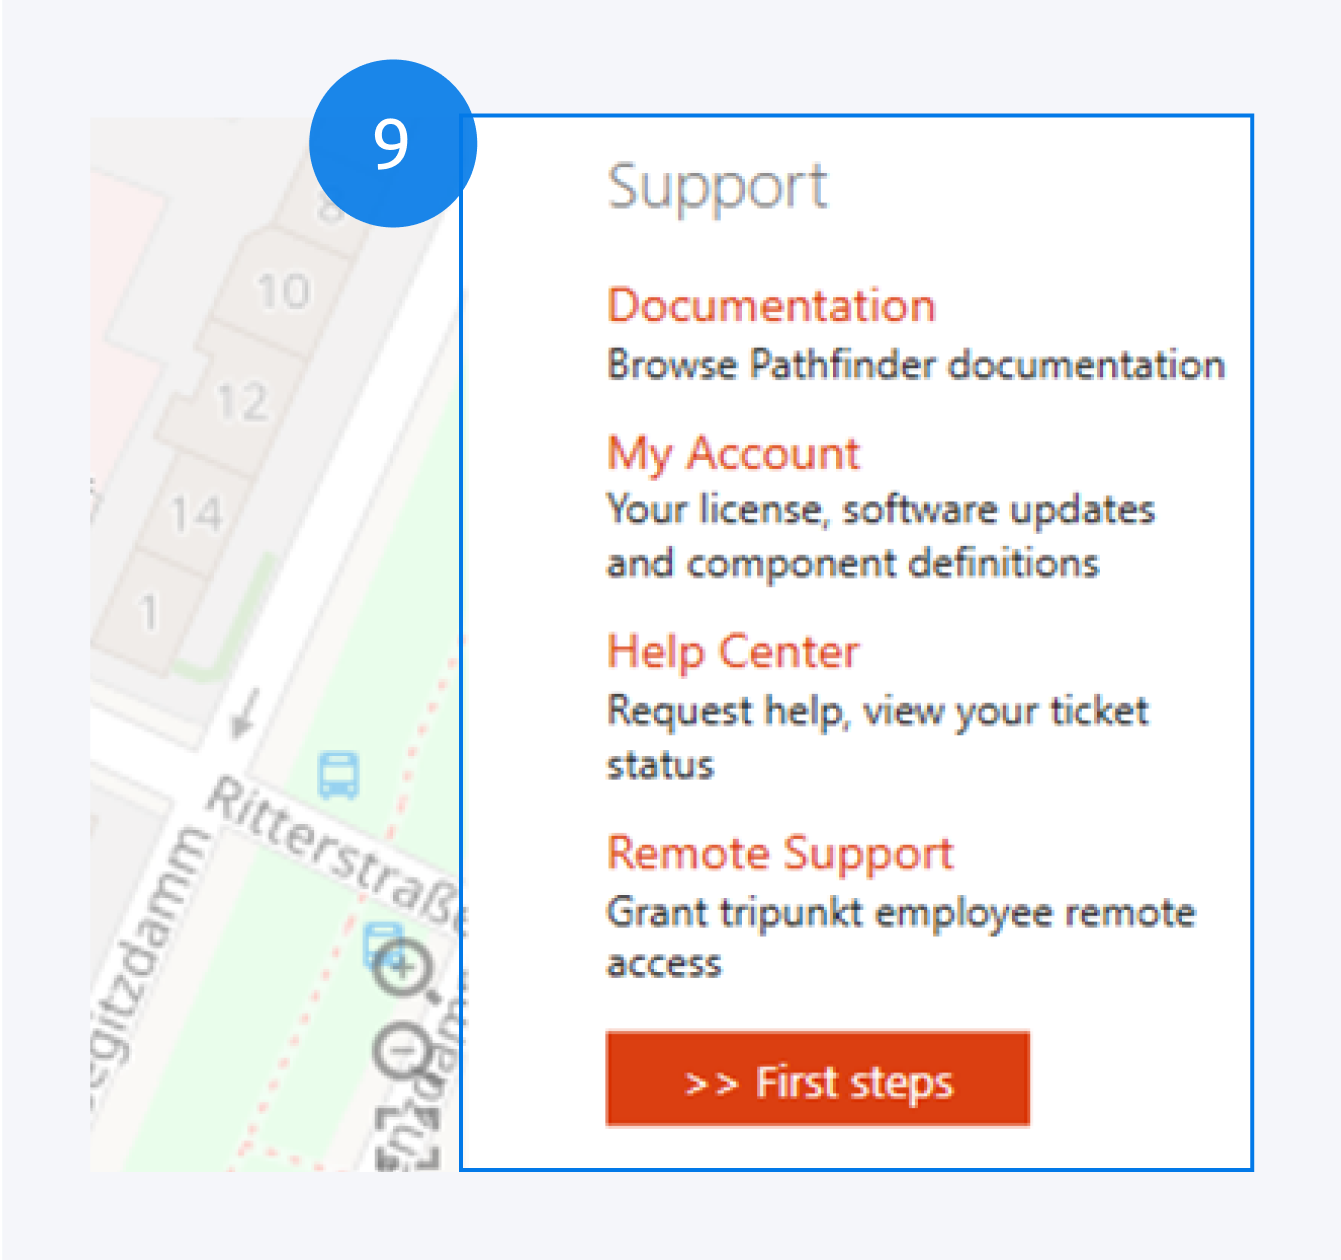
In the Support area you will find useful information and support for your Pathfinder software with documentation, account information, email and remote support. Please reach out to us with your questions whenever you are stuck on any task in Pathfinder.
10. Drop zone and Version information

The drop zone at the bottom of the application can be used to store ports for later use. The version information displays the license owner information, the current database in use and the application version.